This is a common problem that most Nespresso frother owners experience and many problems usually cause it. The milk Frother does not begin, the milk is not foaming, the milk is too hot, or the milk is not hot enough. This is usually the result of a problem with the milk frother. This troubleshooting guide has provided you with a few solutions to get your Nespresso milk frother back to working order.
If you’re like me, you undoubtedly look forward to your morning latte; it’s more of a ritual than a habit. Or imagine having a strong desire for a hot cup of coffee first thing in the morning, and then bang! Because your beloved Nespresso frother is not working, you won’t be able to enjoy delightfully smooth coffee.
How aggravating! Don’t panic. Take a deep breath.
This is a frequent problem that millions of individuals have encountered around the world, and fortunately, it is also rather simple to resolve. So, instead of racing out to get a new frothing machine, going to a cafe, or figuring out a backup plan, bingo! You can take care of everything on your own.
In this troubleshooting guide, we’ll go through why your Nespresso frother isn’t working. We’re here to give you all you need to know, including some easy reasons for the problem and workarounds for getting your Nespresso machine back up and running.
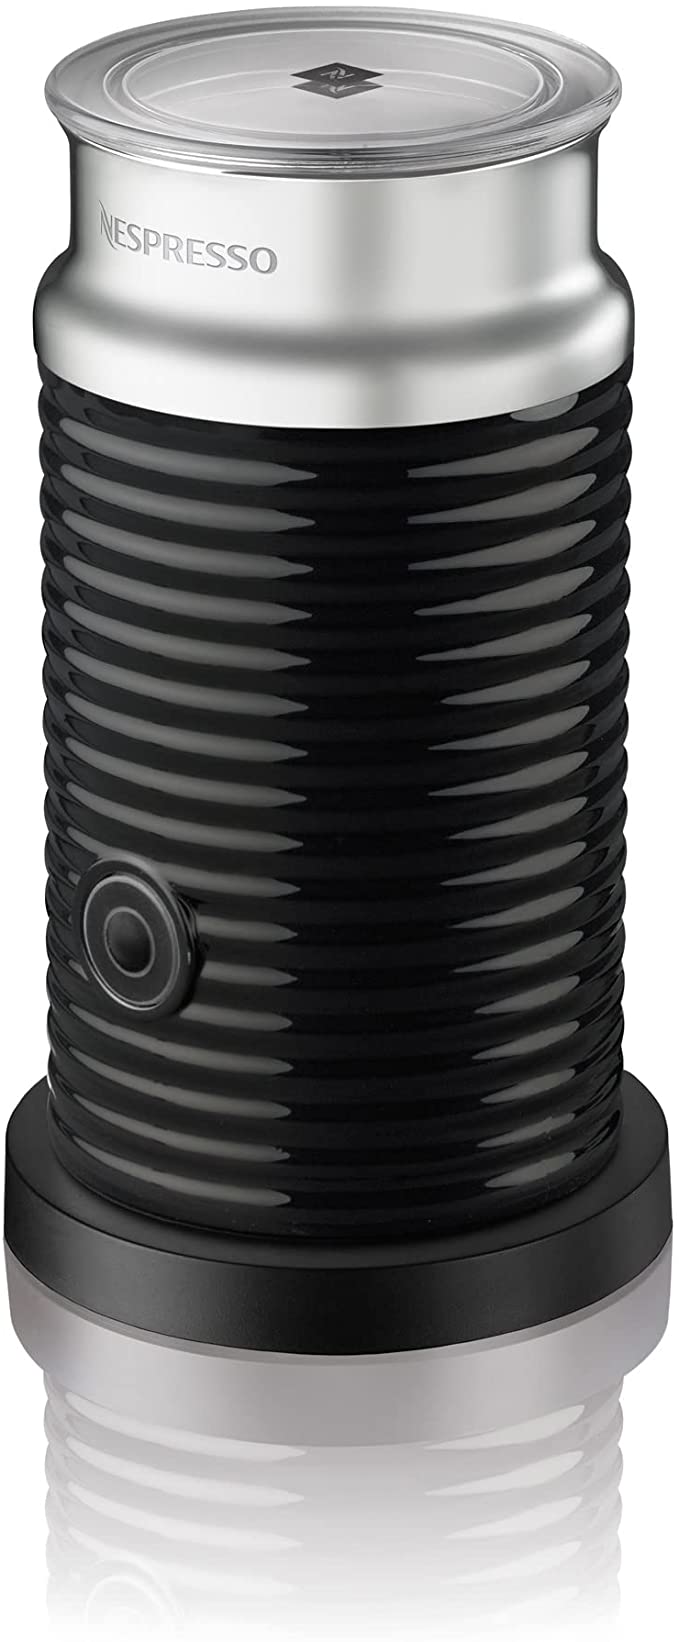
Looking for a Nespresso Frother Replacement? — Check Nespresso Aeroccino3 Milk Frother
Contents
12 reasons your Nespresso isn’t frothing milk

To repair electrical equipment, you must first assess the problem. The following are the top 12 reasons why your Nespresso frother isn’t working properly and how to fix your Nespresso frother.

- Nespresso Milk Frother Not Heating
- Dirt On The Electrical Contacts — Easy fix
- Gunk On The Magnetic Whisk
- Broken magnetic whisk
- A Burnt-Out Heating Element — Advanced Fix
- A Damaged Thermocouple — Advanced Fix
- The Type of Milk Isn’t Suitable for Frothing
- Too Much Milk Was Used
- Liquid Damaged the Electrical Components
- The Outlet Is Tripped
- Nespresso Lattissima Touch Not Pumping Milk
- Beyond repair? Get a replacement
If foamy milk is an important component of your coffee, apply the remedies listed below to solve each problem quickly.
Here’s a complete video to easily diagnose and repair your Nespresso Aeroccino milk frother.
1. Nespresso Milk Frother Not Heating
If your Nespresso milk frother is not heating properly sounds like the heating element has burnt out in the Aeroccino. Remember, it’s just not heating rather than actually chilling. If you open up the Aeroccino you should see where the heating element is burnt out by the bubbles/gap in the circuit board. You may be able to patch the break to make it heat again.
Here’s what you should do exactly to fix this.
First of all, you need to check where the problem lies with a bit of practice and eradicate it.
And for this, using a screwdriver should be easy.

Let’s glance at the steps that can reactivate your Nespresso frother’s heating system.
- First off, you need to cover the oxidized, burned spots with Kapton tape from over the rusted burned-out part.
- Now, take a few drops of hydrofluoric acid in a dropper. Apply a few drops to the oxidized area and leave it on for a bit. Caution: Be extremely careful while working with this acid.
- Ensure the connectivity with a meter and reapply the acid if you see that the connection is low ranged. Next, leave it on for another ten minutes, and you will start noticing the color changing.
- Utilize a cloth or tissue to remove any excess acid from the heating pad after taking off the Kapton tape.
- Now, apply a layer of epoxy to the formerly affected area.
- Reassemble the Nespresso frother machine, and hooray!
Now it’s time to enjoy hot and frothy milk for your coffee with no worry.
2. Dirt On The Electrical Contacts — Easy fix
Do you ever wonder Why is the milk froth quality bad on Aeroccino? It is because of the bad milk quality, wrong utilization of whisk, and dirt on the electrical contacts. The spherical plastic connector linked to the bottom of the Aeroccino milk frother provides electricity. The milk canister has a female connector, and the Nespresso machine has a plug.
The machine model dictates the type of base station, but the functionality is the same. In the event of an overflow, milk residues, grease, and muck build upon both connectors. When you turn on the machine, and it doesn’t work properly or only receives electricity intermittently, the accumulation of milk residues is the most likely cause.
This is usually the main cause of dirt when we talk about crusty milk residues—especially if you’ve had a few boilovers. When dirt and grease begin to accumulate, humidity is trapped, and the contacts begin to corrode.

Solution
This problem can be readily rectified by cleaning the plate with soap water and using contact cleaner on the contacts. What you’ll need to get started:
- Soapdish
- Dish for clothing
- Methyl spirits (methyl or isopropyl)
- Brush or use a small wire dish
- Spray cleaner for contact lenses
For security reasons, turn off and unplug your machine during cleaning. Examine both the connections on the base station and the canister by turning the Nespresso milk frother canister upside down.
Scrub thoroughly with a tiny brush and a cup of soapy water until you notice that the grease has been cleaned. This is when a toothbrush comes in handy, along with our scrubbing bubbles and other cleaning materials. A wire brush may be more appropriate if the contacts are heavily rusted. Rinse away the soapy water. Dry it completely before scrubbing it once again with spirit. Apply a light spritz of contact cleaner spray after cleaning.
3. Gunk on the magnetic whisk — Beginner Fix
The next step is to examine the milk whisk operation to see if the machine is receiving full power. If the milk is heating, but the whisk isn’t spinning properly, you’ll need to pay attention. Check to see if the milk is warming up. Don’t get too worked up about why my milk frother isn’t foaming! This is a common problem that can be fixed.
Milk residues will build upon the magnetic whisk over time, which is why it has slime on it. This one applies to those who do not remove the whisk and rinse it between each brew. The opening in the whisk and the nipple it slips over inside the canister have a slight space between them. It won’t be able to spin freely if the whisk is clogged with oil or milk leftovers. The creation of froths will be impossible if this does not spin properly.

Solution
Giving the whisk a thorough cleaning with an extensive cleansing is a simple solution to this problem. What exactly do you require? Don’t worry; we’ve got a solution for you:
- White vinegar, half a cup
- 1 tbsp sodium chloride
- A toothbrush or a little wire brush
In a glass jar, combine the salt and vinegar, then lay the whisk inside to soak for a few hours or overnight. Remove the sponge after it has been saturated, rinse it with clean water, then scrub the residues with the toothbrush to remove any leftover filth. Put the whisk into the milk frother, and you’re ready to go!
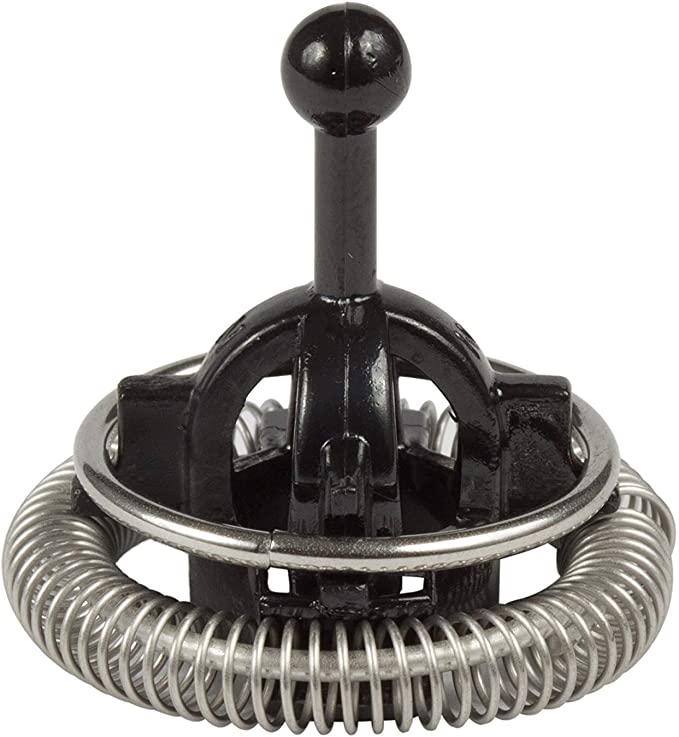
4. Broken magnetic whisk
The damage or fracture of a magnetic whisk might occur as a result of normal wear and tear or a regular mishap. The most typical cause of this issue is that a small neodymium magnet breaks out and is lost, rendering the whisk ineffective.

Solution
A replacement whisk for your Aeroccino milk frother is a straightforward solution to this problem. Do you have any questions about where I can get Nespresso milk frother replacement parts? You can contact a Nespresso dealer, but we’ve found that this isn’t the most cost-effective alternative and that getting the parts in can take a long time because most shops don’t keep them on hand. We’ve discovered a simple solution: go to Amazon to get a low-cost, easy-to-use choice.
Best Nespresso Whisk for Aeroccino 3 Milk Frother Replacement
5. A Burnt-Out Heating Element — Advanced Fix
Why does my Nespresso milk frother burn? The following fixes or solutions entail dismantling and reassembling difficult-to-reassemble items. They’re linked to electricity, which can lead to fire and electrocution. If you don’t think this advanced remedy is right for you, the best thing you can do is seek expert help.
A copper strip on a printed circuit board serves as the heating element within the Aeroccino frother. As a result of this cost-cutting design option, this is a fairly common point of failure for appliances that have been inactive for a long time. If you think about it, how do I reset my Nespresso milk frother? Contact a professional who will inspect the problem and fix it promptly.

Solution
Open the canister to connect directly to the PCB if the heating element has burned out. If this is the problem, you’ll be able to see exactly where the track has burned up. You can also remedy the problem by riveting a thin strip of copper over the burned-up track. You had to scrape part of the enamel off to get some excellent copper for this. This will allow you to overcome the problem and enjoy a velvety cup of coffee in the morning.
6. A Damaged Thermocouple — Advanced Fix
Inside the milk frother is a small electronic temperature sensor called a thermocouple. It is used to monitor the temperature of the milk and to turn off the device once the desired temperature is reached.
This little sensor can be damaged or burned out for a variety of causes. This problem can be accessed when the thermocouple informs the controller that the optimal temperature has been reached, even before the operation begins. That means your Aeroccino frother will turn on, then quickly turn off!

Solution
You’ll need to replace the thermocouple when it’s burned out. A slip connector allows this device to be readily detached from the PCB. Apply some thermal lubricant to the new one before installing it to see if the temperature is acceptable.
Where can I acquire replacement components for my Nespresso milk frother? This isn’t a problem! We have a fantastic option for you. Go to the Amazon website via this link and look for a thermocouple device that is compatible with your Nespresso machine.
7. The Type of Milk Isn’t Suitable for Frothing
Do you ever think about how milk type affects milk froth? It is determined by the amount of fat, protein, sugar, and water content in the milk. Over the years, it has been observed that unsweetened, low-fat, or water-adulterated milk does not foam as nicely. Although any type of dairy can be used, your Nespresso milk frother should not be used with all types of dairy.
The following types of milk are not acceptable for use with a Nespresso milk frother:
- Almond milk
- Cow’s milk with a fat content of 2% or less
- Coconut milk
- Milk made from soybeans

Note: If you create your coffee cup using additive-laced milk, the machine whisk will have a tougher time spinning.
Solution
This issue can be readily resolved by purchasing high-quality milk and making informed decisions. Milk with a high-fat level is less watery and contains less sugar, which makes your coffee taste better. The following milk kinds are recommended for use with a Nespresso milk frother:
- Whole milk
- Cashew milk with a high-fat content
- Goat milk
- Low-fat and full-fat oat milk
Any of the aforementioned kinds of milk will help you make foamy coffee and improve the outcomes of your Nespresso milk frother. Before you decide your Aeroccino is broken, improve your milk game!
8. Too Much Milk Was Used
Why does Nespresso milk frother overflows? It’s because the milk overflow from the Aeroccino milk frother. The amount of milk, the wrong whisk, and the type of milk you’re using in your frother machine may be the issue. When using a Nespresso machine to froth milk, you must be careful about how much milk you use. Too much milk quantity can degrade the machine’s performance, resulting in no foam at all.
On the interior of the machine, there are two indicator lines: one for 8 oz, which is the maximum capacity for producing hot milk, and the other for 4 oz, which is the maximum capacity for producing hot froth.
If you don’t follow the instructions, you’ll be in danger of having the frother overflow. Remember that heat expands; therefore, utilize the quantity in the most efficient ranges.

Solution
It’s quite simple to avoid this aggravating predicament!
Never put more than 8 ounces of milk in your frother. If your machine pitcher doesn’t have a built-in indicator, use the general rule of thumb! Fill the magnetic whisker with milk until it reaches the top. This will produce just the right amount of foam.
9. Liquid Damaged the Electrical Components
Many consumers are unaware that the Nespresso milk frother contains electrical components that cannot be washed. If the machine’s bottom gets wet, it will cease working. Even putting the frother in the sink can cause it to break.
The pieces of a Nespresso milk frother are as follows:
- The magnetic whisk
- The lid
- The frother on its own
- The power station at the base
The magnetic whisk or lid can be fully immersed in water or even put in the dishwasher. You should be careful not to get the bottom of the frother wet while rinsing it. To avoid harm to the power station, keep it away from liquids.

Solution
Sadly, you’ll have to question yourself if your milk frother stops working due to liquid damage. Is Nespresso Frother unfixable? (If yes, get yourself a new one). Things aren’t always worth repairing. The new Nespresso machine is available on Amazon. Other elements, such as a whisk or a thermocouple, can be purchased as needed. The lid is about $16, and the whisk is about $15. If you enjoy coffee, you must maintain your coffee machine in order to avoid having to replace it. As a result, it will last for a long time!
10. The Outlet Is Tripped
Your Nespresso milk frother may occasionally stop working due to a power spike in your socket. This can happen as a result of almost anything. There are too many plugs plugged into the same outlet or even in the same room. You can fix the problem by resetting the button on that specific outlet.

Solution
Find a working outlet and plug your frother in there for the time being. To avoid repeated power tripping, you can also reset the circuit breaker or move some of your other electrical equipment around.
11. Nespresso Lattissima Touch Not Pumping Milk
Nespresso Lattissima pro milk frother not working? I understand how irritating it is when a machine breaks down unexpectedly. This is not a frequent problem with your Lattissima pro machine. You must first learn a little about the Nespresso Lattissima pro problems before moving on to the answer.

The frothing head is made up of five parts: a frother to machine joint piece, a foam selection dial, a head unit, and a spout elbow. Most of the time, milk residues collect in these areas or cause a problem.
Solution
Nespresso descaling can cure this problem, but there’s a catch: it can’t clean the hard water deposits. A CLR cleaner is required. Soak all of the machine parts with CLR and then flush CLR through them with a syringe. Allow them to remain in CLR for 15 minutes. After that, soak these pieces for 5 minutes in hot, tepid water. Finally, carefully wash those parts under hot running water. Bingo! Your Lattissima pro machine should be operational once again!
12. Beyond repair? Get a replacement.
The majority of the time, things aren’t worth fixing. If the power station has failed or none of the preceding alternatives have worked, purchasing a replacement frother may be the best option. If you need a replacement, you can contact a 3rd party retailer who sells new and used hard drives on sites like Amazon and eBay.
Best Basic Nespresso Frother | Featured Nespresso Frother |
 |  |
Nespresso Aeroccino3 Milk Frother, One Size, Black | Nespresso Aeroccino4 Milk Frother, One Size, Chrome |
Nespresso Aeroccino 3 troubleshooting
These are standardized methods to troubleshoot Aeroccino
1. The Aeroccino does not begin
- Make sure the jug is set on a clean surface.
- Ensure that the whisk is securely attached to the jug.
2. The quality of the milk foam isn’t up to par
- Chill whole or semi-skimmed milk to a temperature of 4-6°C.
- Make sure you’re using the proper whisk and that the jug is clean.
3. Blinking red button
- Overheating is a problem with this appliance. Using cold water, thoroughly rinse it. Whiskey isn’t in the mix.
- There isn’t enough milk to go around. Fill one of the milk frother’s two “max” settings.
Nespresso Creatista plus troubleshooting
People have had a lot of problems with their Creatista plus. Here are some frequent issues and their associated troubleshooting tips:
- You have a leakage problem if you see water under Creatista Plus. When the drip tray is full, this happens frequently. Ensure that the tray is firmly placed in its right location after emptying it.
- If your coffee isn’t sufficiently hot. When necessary, preheat the cup and descale your Creatista Plus.
- The milk steam cycle has come to an end. Ascertain that the water tank is properly positioned and filled with safe drinking water.
- Finally, check the fuse, plug, and voltage if the buttons are not illuminated or if there is no steam or hot water at all.
Also read: Keurig Troubleshooting: How to fix 30+ common problems
Final thoughts
So, now that you’re aware of all the fixes and solutions, if your Nespresso milk frother stops working, put your newfound information to good use! When it comes to operating a coffee machine, you must keep a close eye on maintenance, cleaning, and troubleshooting. It’s all part of the package that allows you to enjoy limitless cups of coffee while also extending the life of your Nespresso machine.
Frequently asked questions
Why Is My Nespresso Milk Frother Blinking Red?
When the Nespresso frother is used repeatedly without stopping, the Nespresso frother begins blinking red. As a result, the machine becomes overheated. This is also due to the accumulation of mil residues. Rinse the frother with cool water to fix the problem.
Related: Fix Your Nespresso Red & Yellow Lights
Also read: Nespresso Blinking Orange Light – Let’s Fix all the Errors
Why is Nespresso Aeroccino not foaming milk properly?
If your Aeroccino does not foam the milk properly, there are three questions you can ask yourself, before moving to a solution.

- Does the whisk spin as it should? Sometimes the magnet that holds and twists the whisk loses power and needs to be re-magnetized by a light tap on a hard surface – e.g., a table.
- Do you respect the maximum milk level in your Aeroccino? It won’t be easy to get rich and thick foam if you have too much milk.
- Is the milk fresh and cold? Completely fresh milk gives the best foam. If the milk is lukewarm or if it has been opened for a few days, it will affect the foam.
Recommended guide: Which Nespresso Milk Frother is the Best? | Aeroccino 3 vs 4
How do I descale my Nespresso milk frother?
A Nespresso machine’s descaling is an important aspect of its maintenance in order to extend its shelf life. It’s time to descale the machine when the top button is half red and half green. Once this occurs, the machine will only be able to entertain a few more drinks before shutting down and displaying a red button.
The descaling procedure is divided into multiple steps and takes about 15-20 minutes to complete. After that, you may put your machine back to work! The steps for descaling are as follows:
Step 1: Press the top button.
Step 2: Pull the lever up to release the pod. Then return the lever to its original position.
Step 3: Hold the lever for three seconds.
Step 4: Uninstall the cup-holding tray and pod-catching jar.
Step 5: Fill the rest of the water tank with water after adding a descaling solution.
Step 6: For three seconds, press down the level and top buttons.
Step 7: To enter descaling mode, hold the lever down once the top button is glowing orange.
Step 8: Underneath the machine’s spicket, place a huge pot.
Step 9: To restart the process, press the top button once again. When this is done, the machine will shut down on its own.
Step 10: Refill the water tank, replace the pot, and press the top button once more. A rinsing cycle will now be run on the machine.
Step 11: The orange button will blink in 2 seconds intervals after the rinsing cycle is completed. To leave descaling mode, hold down the lever and top button for 3 seconds.
Step 12: Allow 10 minutes for the Nespresso machine to cool. You’re ready to make a cup of coffee now that you’ve replaced the water tank and other pieces.
Explore Other Nespresso Guides
Guide | Read more |